🚀 Building and Deploying My Own AI Chatbot on AWS EC2: A Complete Journey
From an Idea to a Live AI Assistant
Artificial Intelligence is transforming software development faster than ever before. A few months ago, building a conversational AI assistant required a team of machine learning engineers, expensive infrastructure, and months of development.
Today, thanks to modern Large Language Models (LLMs), open-source frameworks, and cloud computing, a single developer can build and deploy a production-ready AI chatbot.
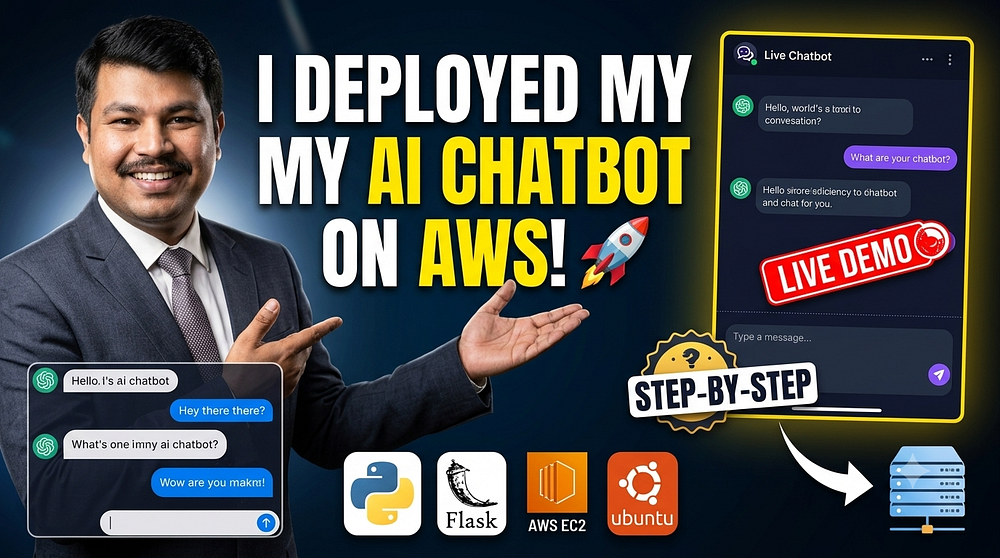
In this blog, I’ll share how I built my own AI chatbot locally and successfully deployed it on AWS EC2. I’ll explain the complete architecture, technologies used, deployment strategy, and lessons learned throughout the project.
Project Overview
The goal was simple:
Build an AI chatbot that can communicate naturally with users while running on my own infrastructure instead of relying on third-party chatbot platforms.
The chatbot should be able to:
- Answer user questions naturally
- Maintain conversational flow
- Respond quickly
- Be deployable on AWS
- Be accessible through a REST API
- Scale in the future
Technology Stack
The project combines modern AI technologies with DevOps best practices.
Backend
- Python
- FastAPI
- Uvicorn
AI Layer
- OpenAI-compatible LLM API
- Prompt Engineering
- Conversation Memory
Infrastructure
- AWS EC2
- Ubuntu Linux
- Nginx
- Systemd
- Security Groups
Development
- Visual Studio Code
- Git
- Virtual Environment (venv)
Architecture
User│
▼
FastAPI API
│
▼
AI Language Model
│
▼
Response Generated
│
▼
User
Once deployed on AWS:
Internet│
▼
AWS EC2
│
Nginx Reverse Proxy
│
FastAPI
│
LLM API
│
Response
This architecture keeps the application lightweight, scalable, and production-ready.
Step 1 — Building the Chatbot Locally
Every successful deployment starts with local development.
I first created a Python virtual environment to isolate dependencies.
python -m venv venvThen I installed the required packages.
pip install fastapi
pip install uvicorn
pip install requests
FastAPI was chosen because:
- Extremely fast
- Lightweight
- Automatic Swagger documentation
- Easy API development
- Excellent production support
Step 2 — Creating the AI Endpoint
The chatbot exposes a REST endpoint.
POST /chatThe request contains the user’s message.
{
   "message":"Hello"
}
The backend sends this prompt to the AI model.
The model processes the prompt.
Finally, the chatbot returns:
{
   "reply":"Hello! How can I help you today?"
}
Simple.
Clean.
Fast.
Step 3 — Running the Application
During development the application was executed using Uvicorn.
uvicorn app:app --reloadThe --reload flag automatically restarts the server whenever code changes, making development much faster.
Step 4 — Testing the API
FastAPI automatically generates interactive API documentation.
http://localhost:8000/docsThis allowed me to test every endpoint before deployment without needing Postman.
One of FastAPI’s best features is how quickly developers can validate APIs during development.
Step 5 — Preparing AWS Infrastructure
Once the chatbot was stable locally, the next step was cloud deployment.
I launched an AWS EC2 instance.
The server specifications included:
- Ubuntu Server
- Public IP
- SSH Access
- Security Groups
- Python Installed
Required ports were opened:
- 22 (SSH)
- 80 (HTTP)
- 443 (HTTPS)
- 8000 (Testing)
Step 6 — Connecting to EC2
SSH was used to securely connect to the server.
ssh -i key.pem ubuntu@your-public-ipAfter logging in:
- Updated packages
- Installed Python
- Installed pip
- Installed virtual environment
Step 7 — Uploading the Project
The chatbot project was transferred to the EC2 instance using Git.
git clone repositoryor
scpAfter uploading:
python -m venv venvsource venv/bin/activate
pip install -r requirements.txt
Everything was now installed on the cloud server.
Step 8 — Running FastAPI on EC2
The application was started using:
uvicorn app:app --host 0.0.0.0 --port 8000At this stage, the chatbot became accessible through the EC2 public IP.
Step 9 — Production Deployment with Nginx
Instead of exposing FastAPI directly to users, I configured Nginx as a reverse proxy.
Benefits include:
- Better performance
- Improved security
- SSL support
- Load balancing capabilities
- Cleaner URLs
Traffic now flows like this:
Internet↓
Nginx
↓
FastAPI
↓
AI Model
↓
Response
This is a common architecture used in production environments.
Step 10 — Keeping the Application Running
One major challenge with server deployments is ensuring the application remains available after a reboot or crash.
To solve this, I configured a Systemd service.
Advantages:
- Auto restart on failure
- Start automatically after server reboot
- Easy service management
- Production reliability
Challenges Faced
Like every real-world project, this journey came with several challenges.
Some of the issues included:
- Python installation errors
- Virtual environment configuration
- Missing dependencies
- Uvicorn command not recognized
- AWS Security Group configuration
- Port accessibility
- Reverse proxy setup
- Environment variable management
Each challenge became an opportunity to deepen my understanding of backend development, Linux administration, and cloud deployment.
What I Learned
This project taught me much more than just chatbot development.
I gained practical experience in:
- API Development
- Python Backend Engineering
- FastAPI
- REST Architecture
- Linux Server Administration
- AWS EC2
- Cloud Deployment
- Reverse Proxy Configuration
- Production Environment Setup
- AI Integration
- DevOps Practices
- Troubleshooting
- Infrastructure Management
More importantly, I learned how modern AI applications are built and deployed in real-world environments.
Future Improvements
This project is only the beginning.
Some enhancements I plan to implement include:
- User authentication
- Chat history storage
- Database integration
- Redis caching
- Docker containerization
- Kubernetes deployment
- CI/CD pipeline using GitHub Actions
- HTTPS with SSL certificates
- Monitoring using Prometheus and Grafana
- Logging with ELK Stack
- AWS Load Balancer
- Auto Scaling
- Multi-model AI support
- Voice chatbot integration
- Retrieval-Augmented Generation (RAG)
- Document-based question answering
- Vector database integration
Final Thoughts
Building this AI chatbot from scratch has been one of the most rewarding projects of my DevOps and AI learning journey.
What started as a simple experiment evolved into a fully functional cloud-hosted AI application. Along the way, I strengthened my skills in backend development, cloud infrastructure, Linux, API design, and deployment automation.
This experience reinforced an important lesson: with the right tools, consistent learning, and curiosity, individual developers can now build solutions that once required entire engineering teams.
As AI continues to evolve, projects like this are no longer just learning exercises — they are the foundation for the next generation of intelligent applications.
The journey doesn’t end here. This chatbot is the first step toward building more advanced AI systems powered by scalable cloud infrastructure and modern DevOps practices.
Thank you for reading!
If you’re also exploring AI, FastAPI, AWS, or DevOps, I’d love to connect, exchange ideas, and learn together. The future belongs to those who keep building.


Comments
Post a Comment