Easy Guide to Installing Jenkins on an AWS Machine
Prerequisites
To run Jenkins on AWS, your machine needs at least 256MB RAM and 1GB ROM.
Steps to Install Jenkins on AWS
1. Launch an AWS Linux Instance
- Log into AWS.
- Select a Linux machine.
- Launch the instance.
2. Install Java
Jenkins requires Java to run. Follow these steps to install Java:
sudo apt update  # Update the machine with the latest packages
sudo apt install -y fontconfig openjdk-17-jre  # Install Java
3. Install Jenkins
Jenkins offers two types of releases:
Weekly Release
- Contains the latest features but may have bugs.
- Updates are frequent, which can be disruptive.
Long Term Support (LTS) Release
- More stable, with updates every 12–13 weeks.
We will proceed with the LTS release:
Steps to Install Jenkins LTS:
- Download and add the Jenkins key:
sudo wget -O /usr/share/keyrings/jenkins-keyring.asc \
  https://pkg.jenkins.io/debian-stable/jenkins.io-2023.key
Explanation:
wget: Downloads files from the internet.-O: Saves the downloaded key to/usr/share/keyrings/jenkins-keyring.asc.
2. Add the Jenkins package repository:
echo "deb [signed-by=/usr/share/keyrings/jenkins-keyring.asc]" \
  https://pkg.jenkins.io/debian-stable binary/ | sudo tee \
  /etc/apt/sources.list.d/jenkins.list > /dev/null
Explanation:
- Adds the Jenkins repository to your system’s package source list.
3. Update the package list and install Jenkins:
sudo apt-get update # Update the system with the latest Jenkins packages sudo apt-get install -y jenkins # Install Jenkins
4. Check Jenkins status:
systemctl status jenkins # Verify if Jenkins is active
4. Configure Jenkins via GUI
- Open Port 8080:
- Jenkins runs on port 8080.
- In AWS, modify the security group to allow port 8080 from My IP.
- This ensures only your IP can access Jenkins, enhancing security.
Note: For third-party access, consider setting up a firewall or WAF (Web Application Firewall).
2. Access Jenkins:
- Open your browser and go to
http://<your-ip>:8080(e.g.,192.168.1.68:8080).
3. Unlock Jenkins:
- Retrieve the initial admin password:
sudo cat /var/lib/jenkins/secrets/initialAdminPassword- Copy the password and paste it into the Jenkins interface.
4. Install Suggested Plugins:
- Choose the option to install suggested plugins for easy integration with tools like Docker, GitHub, email, etc.
5. Set Up Admin User:
- Provide the following details:
- Username:
admin - Password:
test@1234 - Full Name:
Raees Qazi - Email:
xyz@gmail.com
Here is the YouTube Link: https://youtube.com/@raeesq.?si=v_QK6Q2XXMf9mKep
Conclusion
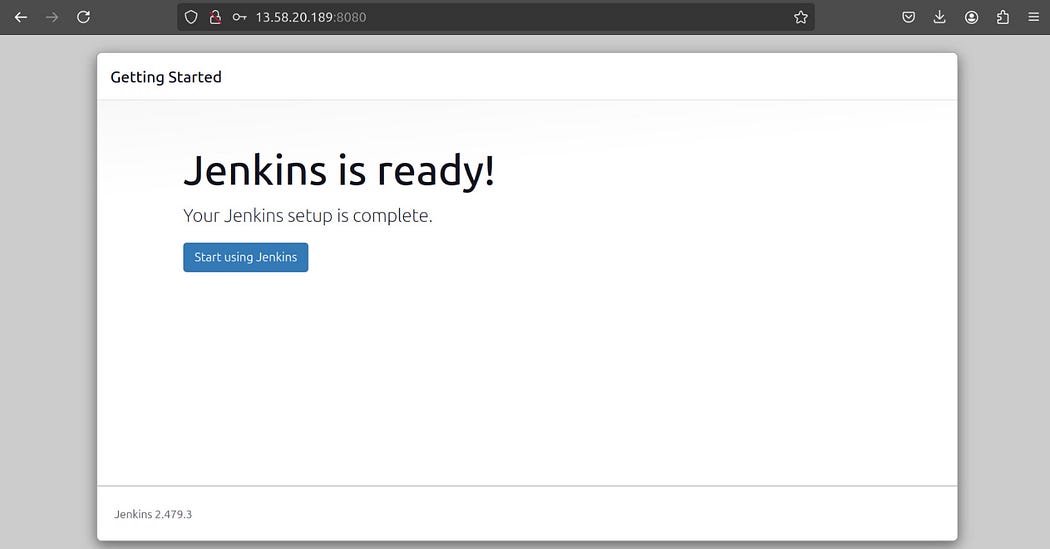
Your Jenkins setup is now ready! You can start creating pipelines and automating your workflows.
I hope this guide was easy to follow and helpful!


Comments
Post a Comment