Deploying a Real-Time Project Using Jenkins Master-Slave Setup
Deploying a Real-Time Project Using Jenkins Master-Slave Setup
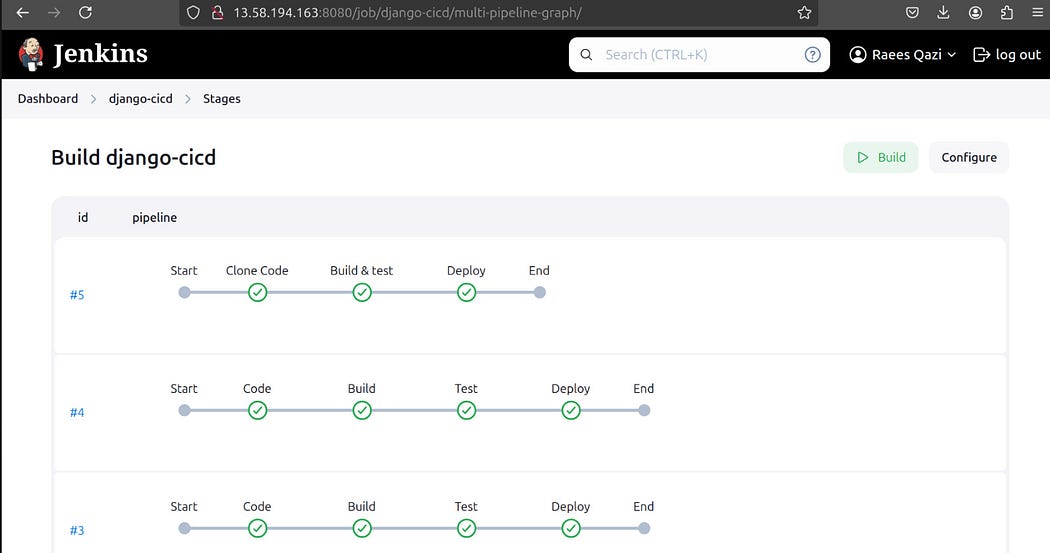
In this guide, we’ll deploy a real-time project using Jenkins pipelines with the master-slave (agent) concept. The master node is where you create the Jenkins job, and the slave (or agent) node is where the project runs.
Here’s what the pipeline will do:
- Clone the project code from a Git repository.
- Build a Docker image for the project.
- Run the project in a Docker container.
Prerequisites
Before running this pipeline, make sure:
- SSH connection is properly set up between the Jenkins master and the slave.
- Docker is installed on the slave machine.
- Port 8000 is open and accessible on the slave machine.
If you’re new to this setup, check out my blog for more details on configuring the Jenkins master-agent setup: Read the blog here.
Jenkins Pipeline Code
Below is the pipeline code you’ll use in Jenkins:
pipeline {
    agent {
        node {
            label "dev" // Ensure the slave node has this label
        }
    }
    stages {
        stage("Clone Code") {
            steps {
                git url: 'https://github.com/LondheShubham153/node-todo-cicd', branch: 'master'
                echo "Code has been cloned successfully."
            }
        }
        stage("Build & Test") {
            steps {
                sh 'docker build . -t nodes-app:latest'
                echo "Docker image has been built successfully."
            }
        }
        stage("Deploy") {
            steps {
                sh 'docker run -d -p 8000:8000 --name nodes-app nodes-app:latest'
                echo "Docker container has been deployed and is running."
            }
        }
    }
}
Step-by-Step Explanation
- Clone Code: This stage pulls the project code from the specified GitHub repository.
- Build & Test: The code is built into a Docker image named
nodes-app:latest. - Deploy: A Docker container is created and runs the project, making it available on port 8000.
Final Thoughts
Once everything is set up, running this pipeline will bring your project to life. Share this with your peers, and let’s keep learning and growing together. Stay connected!😊


Comments
Post a Comment